Gluten-Free Pie Crust Recipe-Learn Like a Pro:-For a gluten-free version of the traditional pie crust, try this gluten-free pie crust made with gluten-free all-purpose flour and butter that has been completely chilled. This straightforward recipe yields one pie crust that is suitable for a pie measuring 9 inches in diameter.
Gluten-Free Pie Crust Recipe-Learn Like a Pro
Advertisement

The ideal pie crust for all of your vegetarian and gluten-free desserts! In order to make two pie crusts, double the recipe.
Advertisement
Prep Time
- 15 minutes
Cook Time
- 0 minutes
Chill Time
- 2 hours
Total Time
- 2 hours 15 minutes
Equipment
- 9-inch Pie Pan
Ingredients
- 1 ¼ cups gluten-free all-purpose flour
- 8 Tbsp unsalted butter
- ½ tsp sea salt
- 4 to 5 Tbsp cup ice cold water*

Advertisement
Also Read:-Healthy Pear Oatmeal Cookies Recipe-Learn Like a Pro
Instructions
- First, fill a small glass with ice cubes, then transfer the water to the glass, and set the glass aside. It is only going to take you four to five tablespoons of water, but you need to make sure that it is extremely cold.
Advertisement
- Make sure that your butter is completely chilled before chopping it into small chunks instead of allowing it to soften. I begin by slicing the butter into thin slices, and then I proceed to cut those segments into four squares. Take care to complete this task in a reasonable amount of time so that the butter does not become warm.

- The gluten-free all-purpose flour should be poured into the bowl of your stand mixer, and then the paddle attachment should be attached to the apparatus. After adding approximately half of the butter chunks, the mixer should be turned to a low speed.
Advertisement
- In the meantime, continue to incorporate the remaining butter into the mixture using the mixer until it is completely incorporated. In order to prevent any areas from having an excessive amount of butter and to ensure that the butter is distributed evenly, I use this method.
- After all of the butter has been incorporated, continue mixing at a medium speed until the flour exhibits the appearance of having small pieces that are roughly the size of peas.
Advertisement
- The water should be added one tablespoon at a time, with the mixer set to a low speed. In between each addition, the mixer should be allowed to thoroughly combine the ingredients. Because you should only require four or five tablespoons of water, you should let the mixer continue to mix after the fourth or fifth addition.
- This should be done until a thick dough is formed. However, the dough should be sticky on your hands and should be able to hold together easily. As soon as possible, form the dough into a ball, and then press it into the shape of a disc. Place the pie dough in the refrigerator for at least three hours, or for up to a week, after it has been tightly wrapped in plastic wrap.
Advertisement
- The pie crust should be removed from the refrigerator and allowed to soften at room temperature for a few minutes before being baked. This should be done when you are ready to bake your pie.
- Using gluten-free flour, dust a flat surface such as a large wooden cutting board. After that, unwrap your pastry dough and position it in the middle of the surface that has been dusted with gluten-free flour.
Advertisement
- In order to roll out the crust into a large circle with a diameter of approximately 12 inches, you can either use a rolling pin or a wine bottle if you do not have some available. As you work your way through the pie dough, press together any splits that you encounter (there will be many).
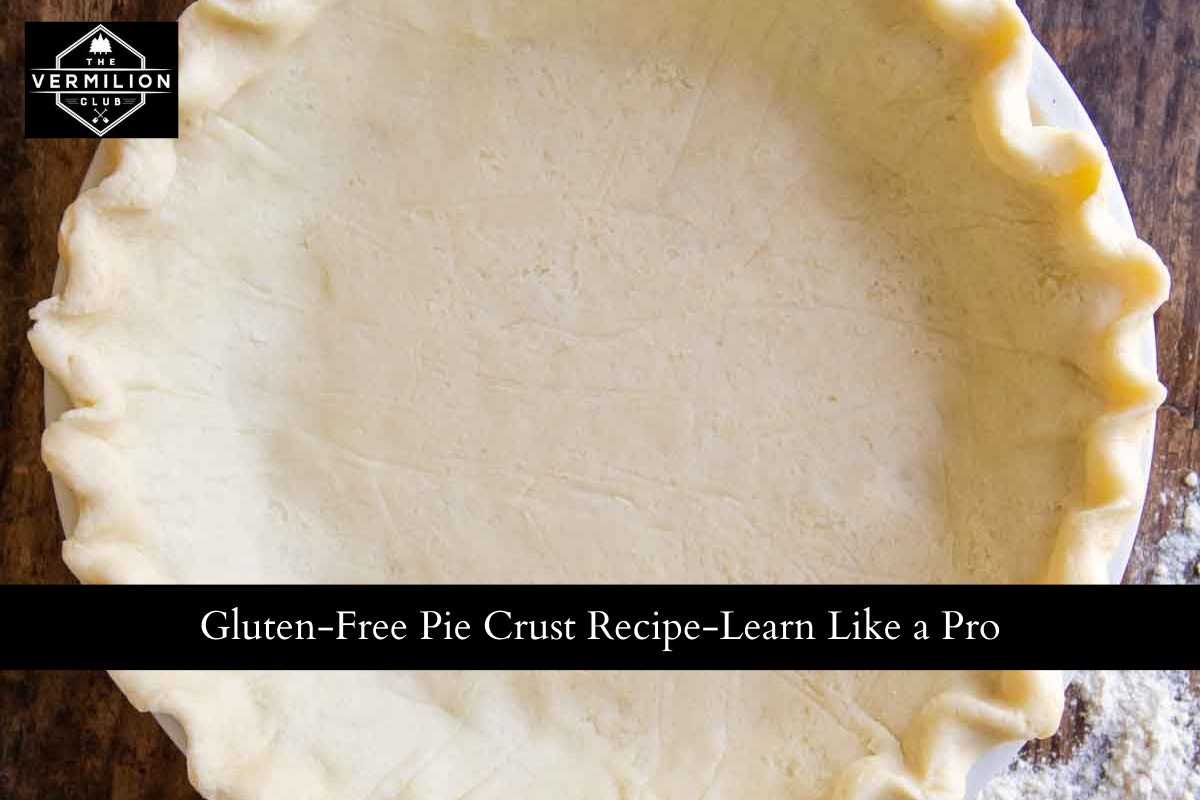
- After lightly spraying a pie pan measuring 9 inches with cooking spray, carefully transfer the pie dough that has been rolled out to the pie pan that has been prepared. Use your fingers to press it into the pie plate, making sure that the surface is covered evenly. Both trimming the edges and making fluted edges are options.
Advertisement
- The pie crust should be poked with a fork a number of times. This makes it easier for the pie crust to bake evenly and prevents it from bowing up while it is being brought into the oven.
- Continuing with your pie recipe, fill the crust with the filling you have prepared for the pie.
Advertisement
Notes
- Pinch the amount of water required to bind the pie crust together precisely, without causing it to become sticky. After adding the water, you must allow the mixer to operate for approximately one minute to facilitate the absorption and incorporation of the flour.
- For Two Crusts of Pie:
- 2 1/2 cups gluten-free all-purpose flour
- 16 Tbsp (2 sticks) unsalted butter
- 1 sea salt
- 8 to 10 Tbsp cup ice cold water
Advertisement
Nutrition
- Serving: 1slice (of 12)
- Calories: 120kcal
- Carbohydrates: 13g
- Protein: 1g
- Fat: 7g
- Saturated Fat: 5g
- Cholesterol: 20mg
- Sodium: 97mg
If you like this article about Gluten-Free Pie Crust Recipe-Learn Like a Pro. Please share this article with your friends and family members.
Advertisement