Introduction:

Welcome to the world of Dutch oven bread baking! If you’re craving the warm, crusty goodness of homemade bread but don’t want to fuss with complicated recipes or fancy equipment, then you’re in the right place. In this comprehensive guide, we’ll explore everything you need to know to bake delicious bread using a Dutch oven. From selecting the right ingredients to mastering the baking process, get ready to elevate your bread game to new heights!
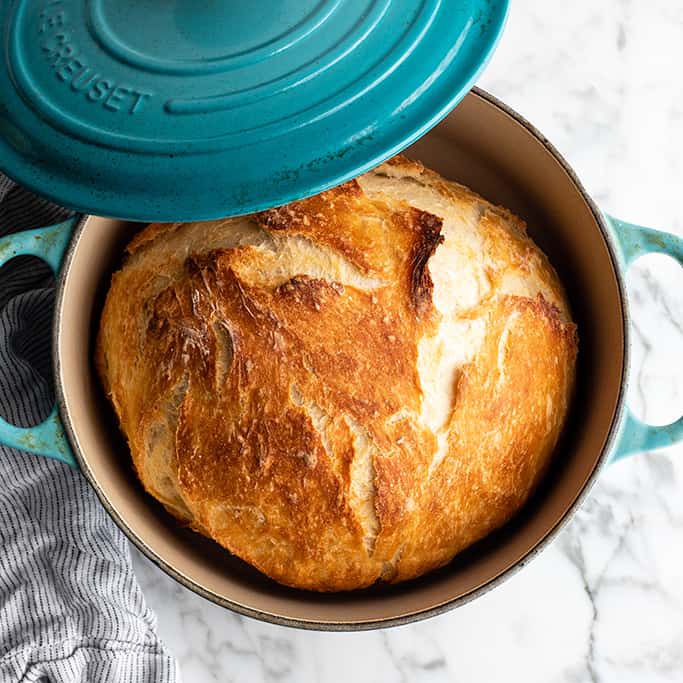
Getting Started with Dutch Oven Bread So, what exactly is Dutch oven bread? Well, it’s a simple yet incredibly satisfying bread baked in a Dutch oven, which is a heavy, cast-iron pot with a tight-fitting lid. The Dutch oven’s unique design creates the perfect environment for baking bread, resulting in a crispy crust and a soft, airy interior.
Selecting Your Ingredients The key to baking delicious Dutch oven bread lies in using high-quality ingredients. Start with good flour – either all-purpose or bread flour works great. You’ll also need water, salt, and yeast. While you can use active dry yeast, many bakers prefer instant yeast for its convenience and reliability.

Mixing and Kneading the Dough Once you have your ingredients assembled, it’s time to mix and knead the dough. Combine the flour, water, salt, and yeast in a large mixing bowl, then knead until the dough is smooth and elastic. Don’t be afraid to get your hands dirty – kneading is a great way to relieve stress and connect with your food on a deeper level!
Proofing the Dough After kneading, it’s important to let the dough proof – or rise – before baking. Transfer the dough to a clean bowl, cover it with a kitchen towel, and let it sit in a warm, draft-free place for about an hour, or until it has doubled in size. This step allows the yeast to ferment and develop the dough’s flavor and texture.
Preparing Your Dutch Oven While the dough is proofing, it’s time to preheat your Dutch oven. Place it in the oven and set the temperature to 450°F (232°C). Let the Dutch oven heat up for at least 30 minutes – this ensures that it’s nice and hot when you’re ready to bake the bread, creating that perfect crusty exterior.

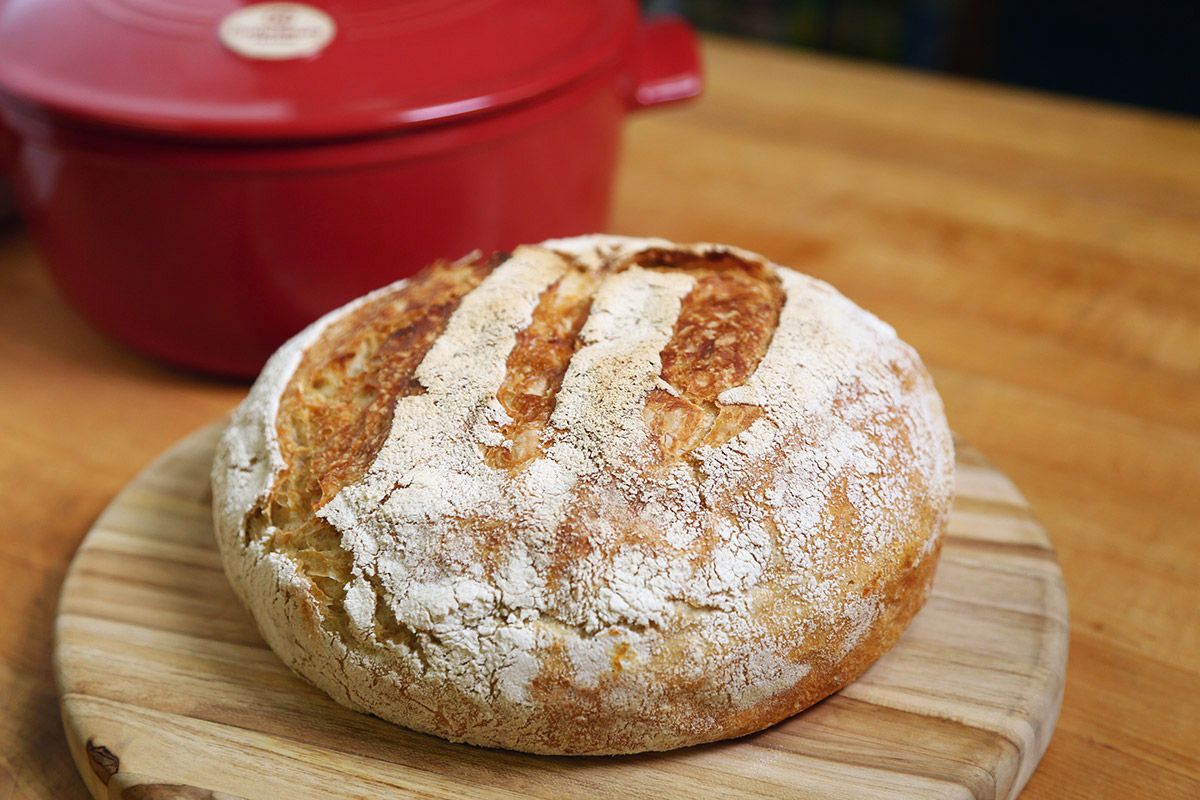
Shaping and Scoring the Dough Once the dough has proofed, it’s time to shape it into a loaf and score the top. This not only gives the bread a beautiful appearance but also helps it expand evenly during baking. Use a sharp knife or razor blade to make a few shallow cuts in the dough – get creative with your designs!
Baking Your Bread Carefully remove the hot Dutch oven from the oven and place the shaped dough inside. Be sure to handle the Dutch oven with oven mitts or a thick towel – it’s extremely hot! Cover the pot with the lid and return it to the oven. Bake the bread for about 30 minutes, then remove the lid and bake for an additional 15 minutes, or until the crust is golden brown.
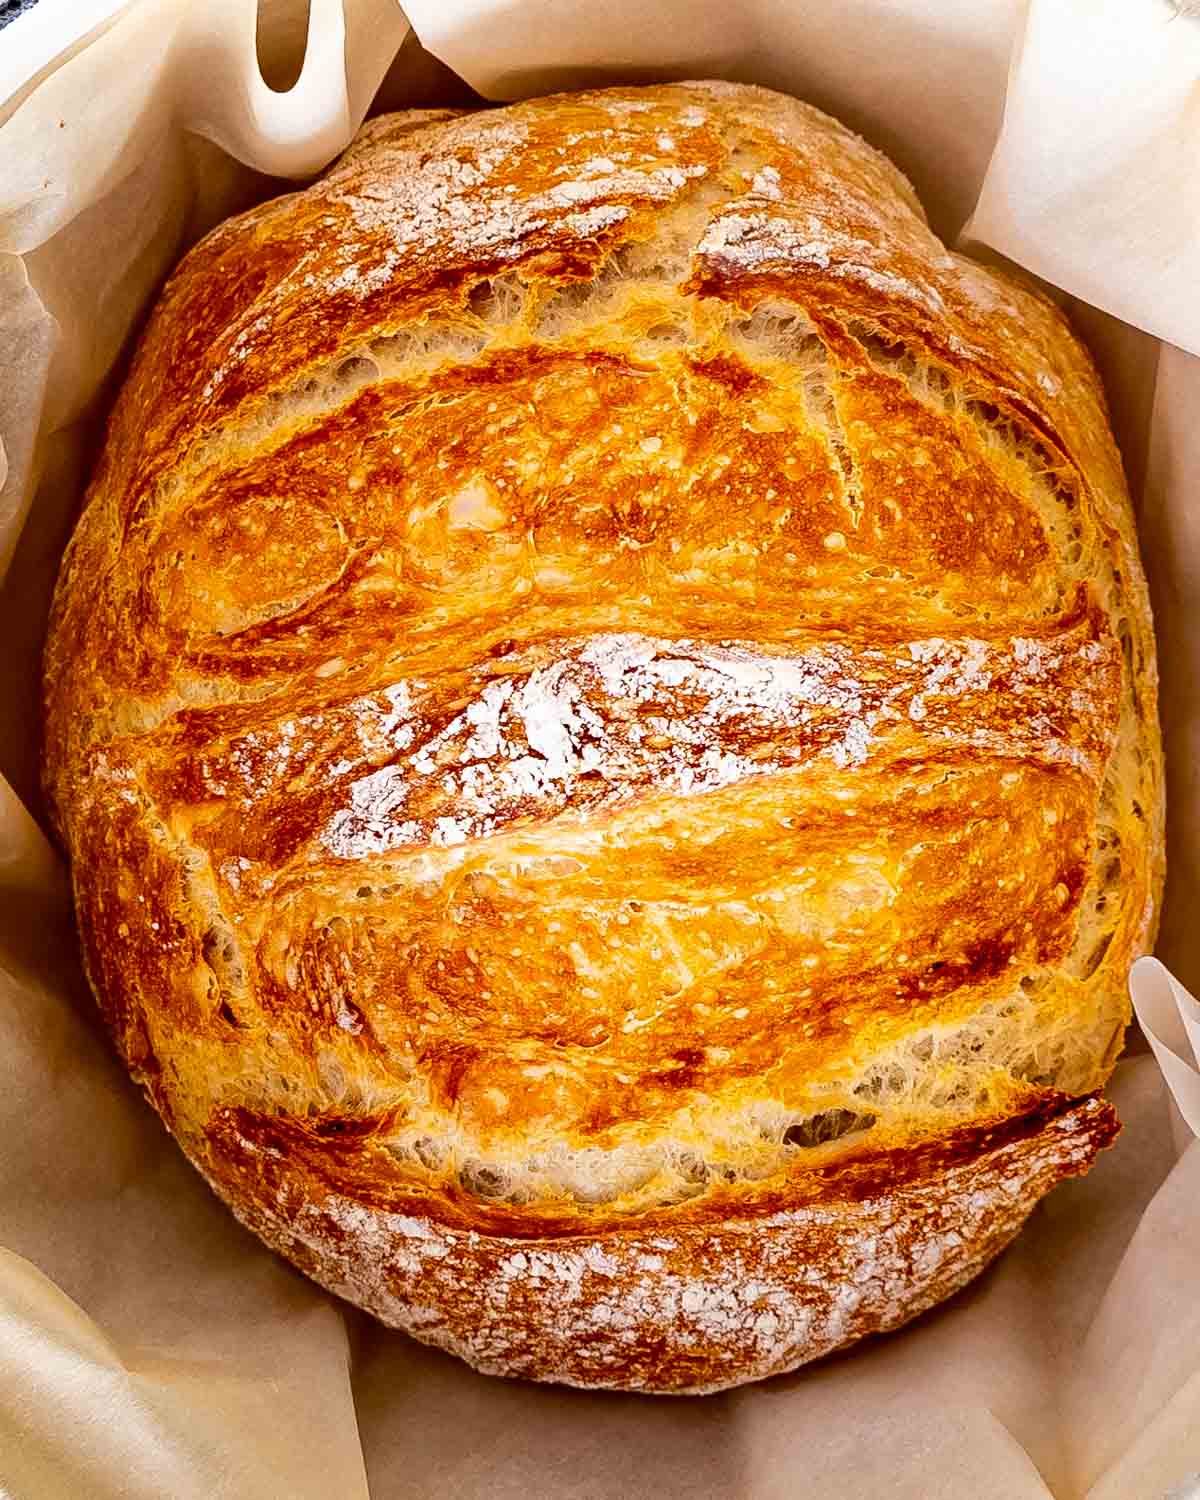
Enjoying Your Homemade Bread Congratulations – you’ve just baked your first Dutch oven bread! Remove the bread from the oven and let it cool on a wire rack for at least 10 minutes before slicing. There’s nothing quite like the aroma of freshly baked bread filling your kitchen, so take a moment to savor the experience before digging in.
Conclusion:
In conclusion, Dutch oven bread baking is a simple yet rewarding process that anyone can master with a little practice. By following these steps and experimenting with different ingredients and techniques, you’ll be well on your way to creating delicious homemade bread that will impress family and friends alike. So, what are you waiting for? Roll up your sleeves, preheat your oven, and let’s get baking!
FAQs:
- Can I use whole wheat flour instead of all-purpose flour? Absolutely! Whole wheat flour adds a nutty flavor and extra nutrients to your bread. Just keep in mind that whole wheat flour tends to absorb more liquid than all-purpose flour, so you may need to adjust the amount of water accordingly.
- How do I know when the bread is done baking? A perfectly baked Dutch oven bread will have a golden brown crust and sound hollow when tapped on the bottom. If you’re unsure, you can use an instant-read thermometer to check the internal temperature – it should register around 200°F (93°C).
- Can I add other ingredients like herbs or cheese to the dough? Absolutely! Get creative with your flavors and experiment with different additions like fresh herbs, grated cheese, or even olives. Just be sure to fold them into the dough during the mixing process for even distribution.
- Do I need to grease the Dutch oven before baking? No need to grease the Dutch oven – the bread dough contains enough moisture to prevent sticking. However, you can sprinkle a bit of cornmeal or flour on the bottom to help prevent any potential sticking.
- Can I bake Dutch oven bread without an actual Dutch oven? While a Dutch oven produces the best results, you can still bake bread using other methods like a baking stone or a preheated cast-iron skillet with a cover. Just make sure to create a steamy environment in the oven by placing a pan of hot water on the bottom rack to mimic the effect of a Dutch oven